
This past weekend I took a trip up to Cherry Springs State Park in Coudersport, Pennsylvania, to do some star gazing. Despite having attended college only sixty miles south of the park, I had never heard of it until recently.
Cherry Springs State Park is known as one of the darkest areas on the eastern seaboard, perfect for astronomers, photographers and anyone else interested in seeing an abundance of stars.
The park is located 2,300 feet above sea level and sits in the middle of almost entirely undeveloped forest, and as such is shielded from the bright lights of local homes and towns which are nested down in valleys.
Because of this, it is not exactly a cake walk to get to, and more so to leave in the dark. The hour and a half drive from Lock Haven was scenic with only two turns. From town, follow PA Route 120 also known as Susquehanna Avenue west for roughly 20 miles until you reach the town of Hyner, Pa. A little local tip, leave a few hours earlier than needed and drive up to Hyner’s View State Park for sweeping views of the Susquehanna River and valley below. If you are lucky, you may even catch some of the hang gliders taking flight off of the ramp next to the overlook.
This is where the drive to Cherry Springs starts to get a bit interesting. Hyner Run Road takes you seven miles north through winding mountain roads and an ever increasing elevation. There is almost no shoulder along the road and the far lane heading southbound overlooks a fairly steep drop off into the forest. Sadly whoever is driving won’t be able to take their eyes off the road to enjoy it, but the passengers will have quite the view.
Hyner Run Road will eventually come to an end at Coudersport Pike Road where you will make a left. You can expect more of the same winding, deep forest, two lane road for the remaining thirty two mile drive until you arrive at the park entrance on your right.
There are three main areas for stargazing within the park, a rustic campground, a night sky public viewing field and the overnight astronomy observation field. We did not visit the campground however, this area is intended for amature viewing or for those not bothered by the distraction of white light nearby, as there are no rules in this area prohibiting the use of white light.
We did visit the public viewing field and the overnight astronomy observation field, which I will compare to the viewing sections of the Kentucky Derby. One is for the serious stargazer and the other, well, is the party down on the field where no one really cares who wins, they just came for the good time.

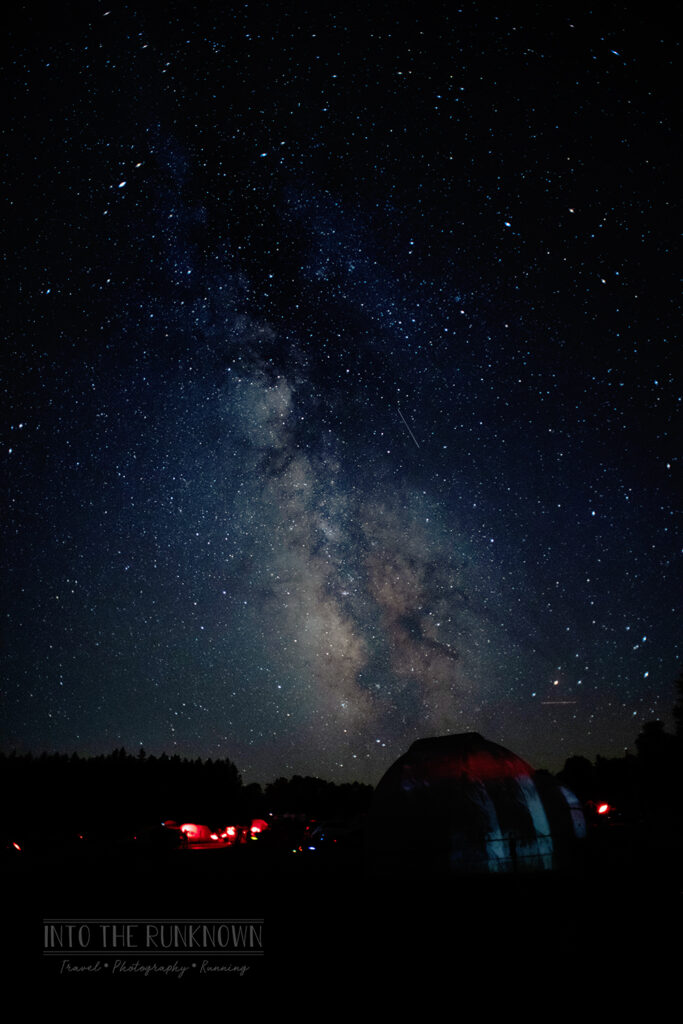
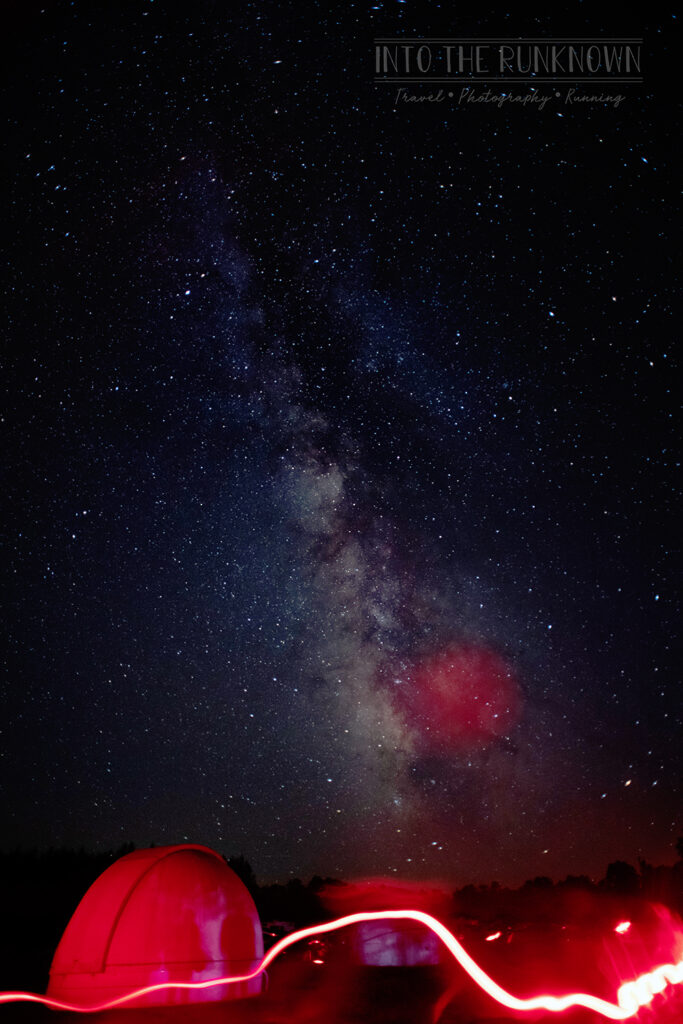
The overnight field was so quiet at times, you could actually hear the motors adjusting on the high end telescopes that filled the area. This field is blocked off by a wall and gate along the street that even has a drop cloth installed, to block as much white light as possible from the cars headlights pulling in and out of the parking lot across the street. It also has what can be deemed the most interesting section as far as nightscape photographs are concerned. The field is surrounded by fields of trees, has an old log cabin style building as well as two large white telescope domes, all of which can be used to add interest to your nightscape photos. The overnight observation field is also VERY strict prohibiting any white light, as it makes it hard for your eyes to adjust to see the stars above.
In order to spend the night in this field, you need to reserve a camping spot months, maybe even a year or more in advance. The dates completely void of the moon are the most popular and hardest to reserve, as they create the darkest sky and best viewing ability.
You can use this handy chart to plug in dates for any location to see what phase the moon will be in on that evening.
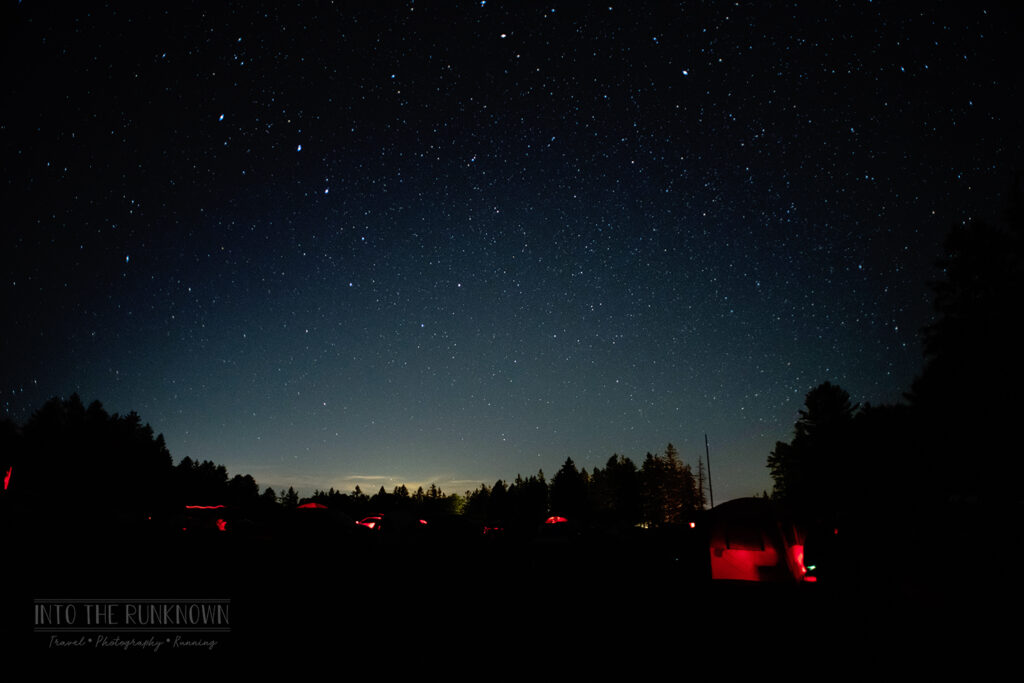
The public viewing field came as a stark contrast to the luxury of the overnight field across the street. Here, masses of people who came for just a few hours were spread out over acres of open land on chairs and blankets, setup with coolers of what was most likely beverages of the adult variety, loud bags of snacks and the occasional whiff of weed wafting through the air. While red lights are encouraged, white light is permitted here, and a smattering of cell phone screens could be seen glowing white among the ever glowing red headlamps of people who were blissfully unaware of the havoc they were causing for anyone trying to take photos or use a telescope. Also, due to the wide open area, the only possible structures of intrigue was the tree line far off in the distance across the street. Okay for anyone starting out with photography and more focused on getting the stars to show up, but if you are looking for a bit more variety, you will want to book a campsite spot in the overnight field.
Now, on to the photos. Having a studio art degree and more specifically a photography degree I am no stranger to taking landscape photos. What I am, however, a stranger to is taking them at night of the Milky Way.
Upon doing some research on the park website and realizing all of the camping spots for the overnight observation field were long sold out, I noticed the park hosts various nighttime events, one of which was a nightscape photo workshop. The website describes the class as learning how to photograph the night sky, using your DSLR camera and lenses you already own. The instructor Kurt Weinhold’s portfolio was linked and after a quick browse of his nightscapes portfolio (and other local images) I was sold!
For $60 Kurt and his lovely wife Penny, an astrology enthusiast, guided us around the area within the confines of the overnight observation field, which did not require purchasing the very sold out camping permit.
We met in the main parking lot next to the public viewing field at 7:45pm, where he walked everyone through how to set their cameras, and handed out a snack of bite size Milky Way bars.
The class started across the street in the overnight observation field pavilion with a slideshow of some of Kurt’s work, mostly nightscape photos of the stars, with some of his other favorites of local parks and waterfalls in the daytime mixed in.
Penny gave us a quick astronomy lesson on various planets, stars, and constellations before we headed out behind the pavilion to set up our tripods to wait for the Milky Way to appear in the sky overhead.
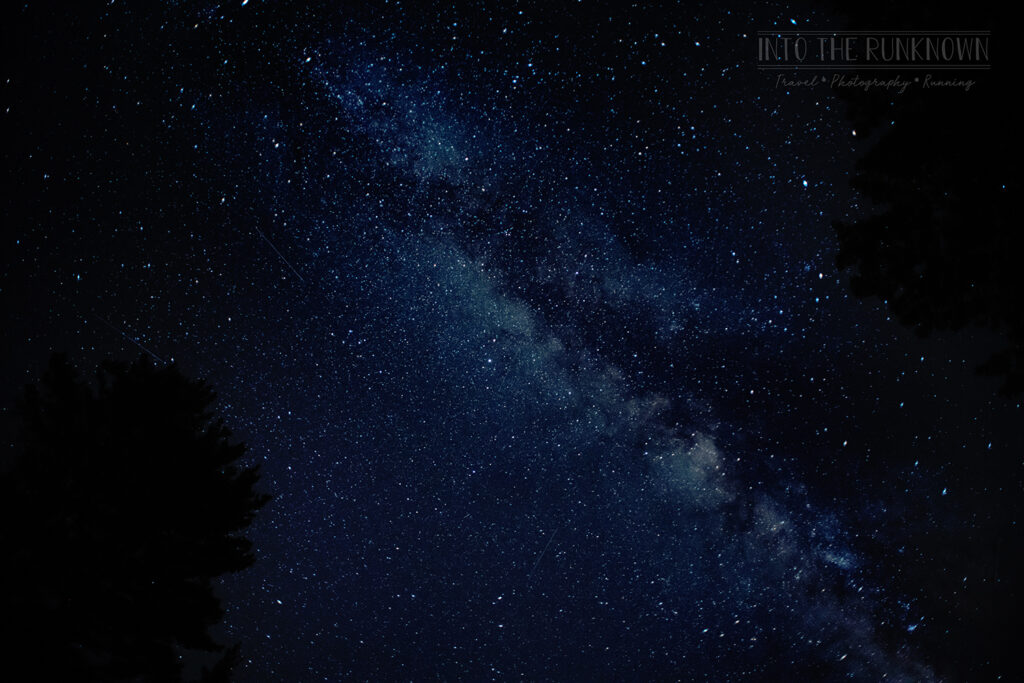
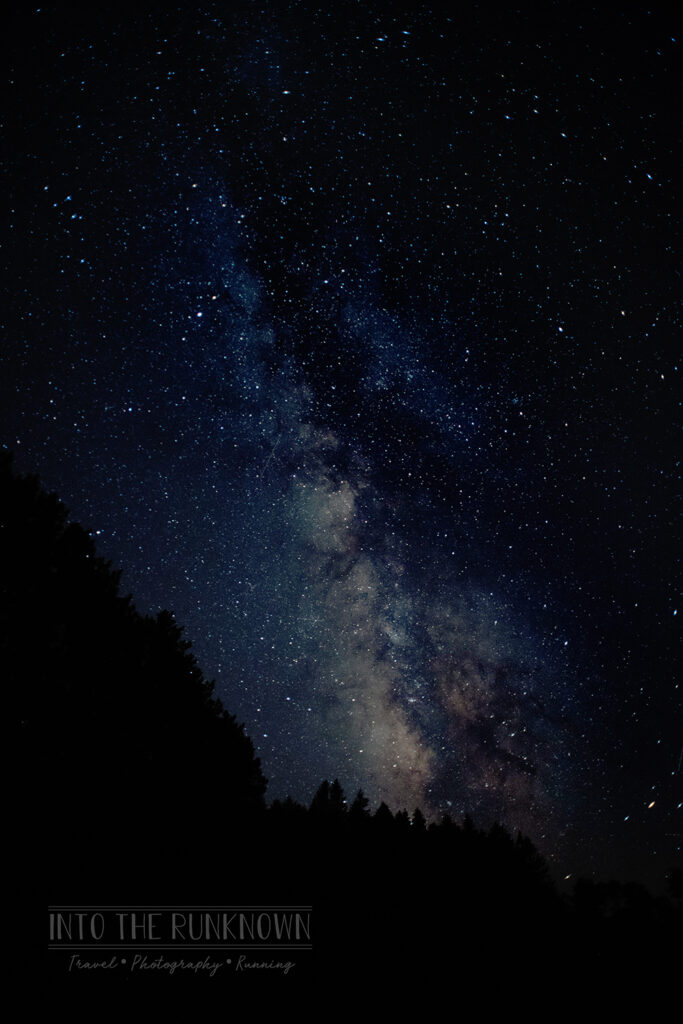
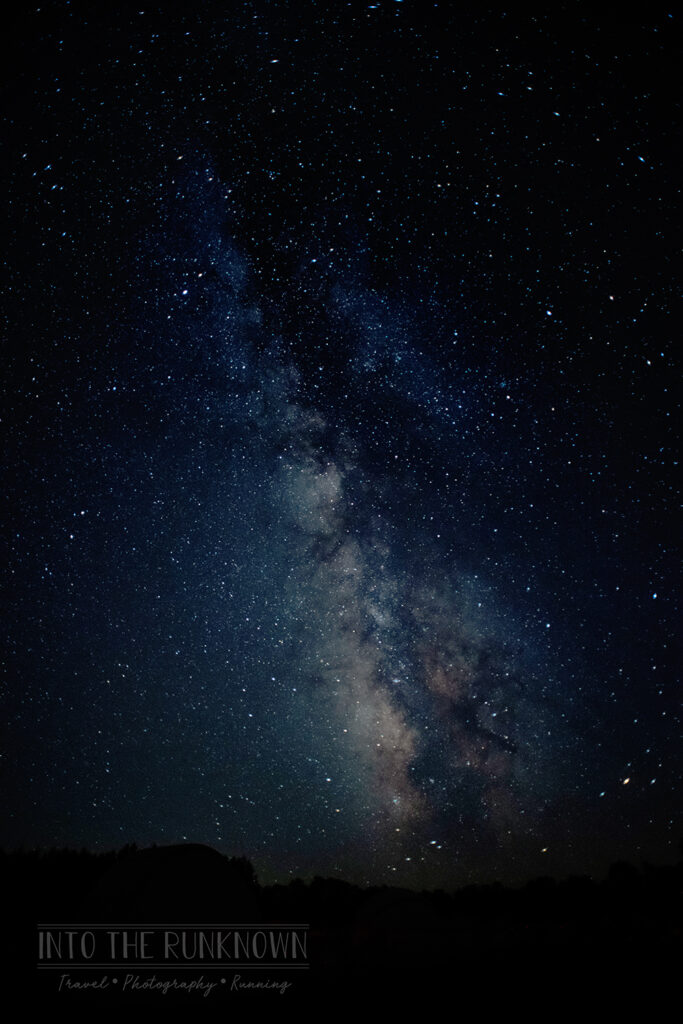
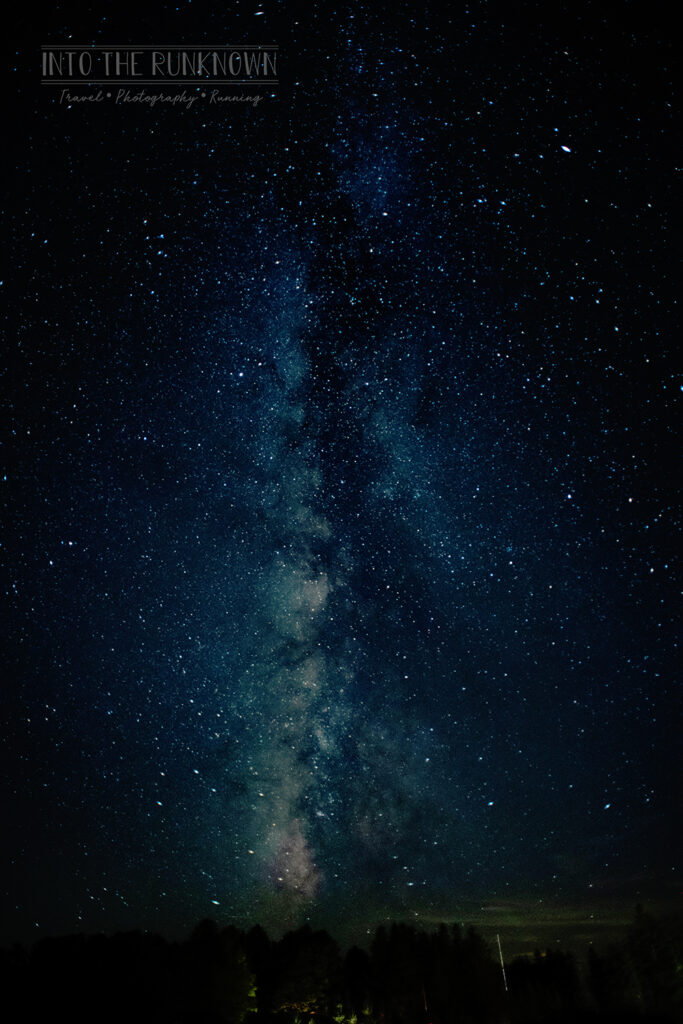
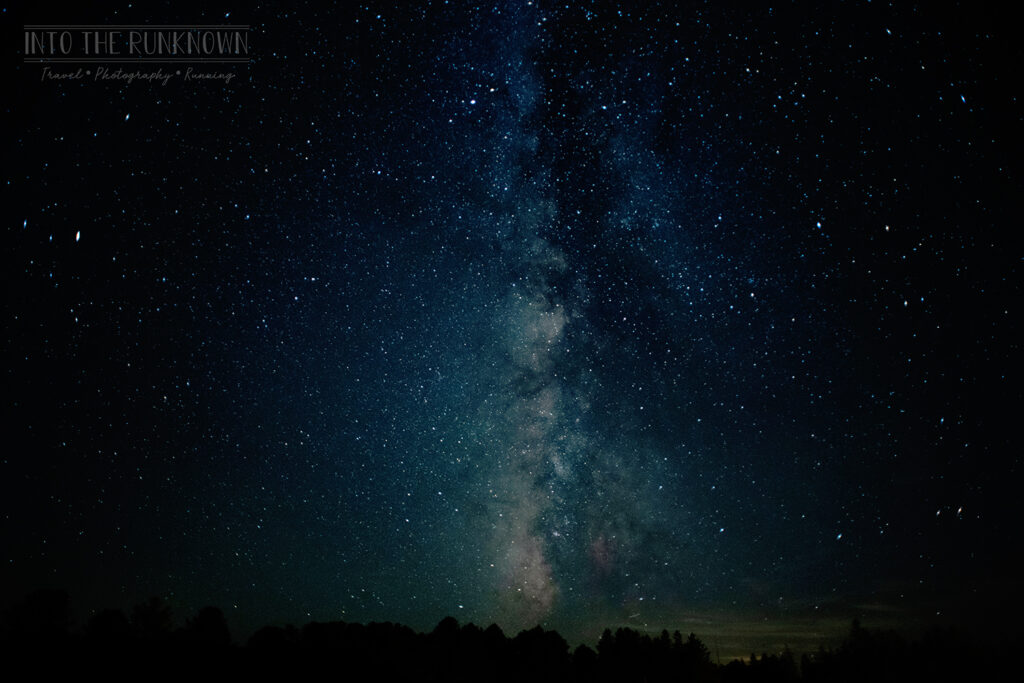
Due to the location of the park, you have an excellent view of the nucleus of the Milky Way.
Having set our cameras up prior to sunset, once the stars appeared, all we had to do was compose an image, which is just about as hard as you would expect in pitch black darkness, click the shutter and wait for our images to appear on the camera screen.
Due to the fact that I learned the correct settings via a paid class, I am choosing not to share the exact camera settings on my blog. I am a big fan of intellectual property rights and it would be a great disservice to Kurt to share his knowledge here for free. If you live in the area, spend the $60 to go take his class. It maxes out at 10 students (friends and family who are not taking photos can tag along for free) so be quick to sign up when spots are available, as it does sell out.
I will however share the equipment I used and one tip for getting photos with no camera shake.
Tip 1 – Tripod
Make sure you have a good sturdy tripod, and one that is intended for ground use, not the short table top kind. You absolutely cannot hold your camera for the length of time the shutter needs to stay open to capture nightscape photos.
I use a PROMASTER SystemPRO 2 tripod, which quite frankly is a beast. This thing is heavy and a bear to lug around, but is beyond sturdy. Not at all ideal though for packing in a suitcase for travel.
(The PROMASTER SystemPRO 2 is no longer available, but the PROMASTER Specialist Series are their closest current option)
Along with the tripod, I have the Manfrotto 3265 grip action ball head with a quick release plate. The grip allows you to quickly adjust the angle and tilt of the camera going from vertical to horizontal in a matter of seconds just by squeezing the grip. The quick release plate screws into the bottom of your camera and clicks into place in seconds (well if you have had some recent practice and it’s not pitch black) allowing you to remove and re-attach the camera to the tripod quickly.
The quick release plate is a nice to have for this type of photography, but the grip ball head was a massive help in making quick adjustments after seeing an image. I could tilt the camera up or down fractions of an inch to capture more ground or more sky, as well as rotate the camera small amounts to better align trees or the milky way in the frame.
(The Manfrotto 3265 is also no longer available but their item 322RC2 is the closest current option)
Tip 2 – Timer Mode
To avoid blurry photos from camera shake, set your timer mode to 2 seconds, or the lowest count possible that provides enough time for you to press the shutter, let go, and have the tripod and camera completely still before the shutter opens. Be sure to change this setting before you find yourself in the middle of a dark field, and are banned from using anything but red light. Mine was set at ten seconds, which I was finding to be too long. I adjusted mine part of the way through class when I was alone on the backside of the pavilion building to the shorter setting. You can also use a wireless remote to fire off the shutter if you happen to own one.
Tip 3 – Camera
This one is oddly not quite as important as the first two, despite being the actual thing used to capture the images. I use a Nikon D850 camera body, which is a professional level body, and only second in line to their D series. If you happen to have an extra $6k lying around burning a hole in your pocket, that D6 is a dream, but any DSLR camera will work just fine for these purposes. The biggest factor here is the ISO setting, and the amount of noise (or grain in the old film days) that will occur on your images. Without getting into a full blown photo lesson, the lower the ISO number, the less sensitive it is to light and therefore less noise or grain will appear on your images. The higher the ISO, the more sensitive it is to light and therefore more noise or grain will appear on your images. The technology of digital sensors has come a long way over the last decade. Higher ISO numbers that in the past would have resulted in an image full of blotchy speckles will now create almost clear images in the dark.

Tip 4 – Lens selection
The wider the lens, the better. Despite my being known to last minute buy or rent various lenses for upcoming trips, I decided to go with the lenses already in my possession and used a 20mm Nikon f2.8 prime for all of my shots and honestly still felt like I wasn’t capturing as much as I had hoped in my images. The milky way is big ya’ll. Since returning home I have been on the search for a deal on an ideally used, Nikon f2.8 14-24 lens. New they run around $1800, but used seem to be roughly $800 to $1100 depending on the quality and damage from the prior owner.
If you have a cropped frame sensor (DX in the Nikon world) you can also give a fisheye lens a go for some shots. I would not recommend using this as your primary lens for nightscapes though based on the very round aspect it creates.
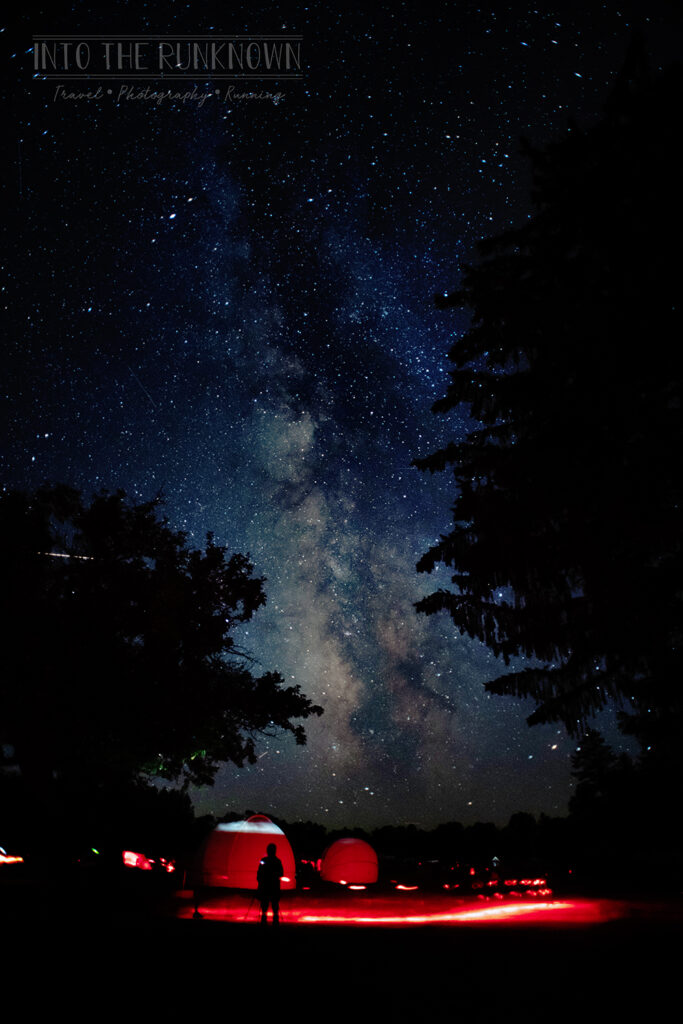
We made our way around some of Kurt’s favorite spots within the overnight observation field, using the various trees and buildings to come up with interesting compositions. He and his wife continued to check on everyone throughout the class to ensure we were happy and getting good shots, as well as continuing to point out the various stars, planets and constellations. The official portion of the class wrapped up around 10:45pm. At this point Kurt and Penny led the group back across the street to point out the Big Dipper and some of the visible planets to a few people who had never seen them in person before. This is about where my evening went awry, and I will present you with tip number 5, once inside the overnight viewing area DO NOT LEAVE until you are ready to go home.
Due to the overnight observation field being a permit only location, once you left the area to cross the street, under no circumstances were you getting back in without the required camping permit. Two park rangers were stationed at the gate demanding to see permits in order for you to enter, and they did not care one bit that we just came from there with a park sponsored class. Had I realized this fun fact, I never would have followed the group back across the street, nor would I have suggested we take the chairs and extra bags we had been lugging around all evening to the trunk before returning to the fancy side for some more photos without the group.
With the overnight permits being long sold out, and no cell service to try and obtain one anyway, we had no choice but to return to the masses in the public viewing field. We took the extra items to the car as planned, made a quick stop at the very gross restrooms (no white lights in there either folks), then made our way out into the open field to find a spot somewhat suitable for photos.
I set up my tripod in what I thought was a suitable enough spot. A direct view of the milky way with the line of trees across the street. Not great, but better than just sky alone. Then came the crowds of people, sporting their bright red headlamps that were left on continuously, while they set up giant tarps and picnics. We moved further back, only to have them follow.
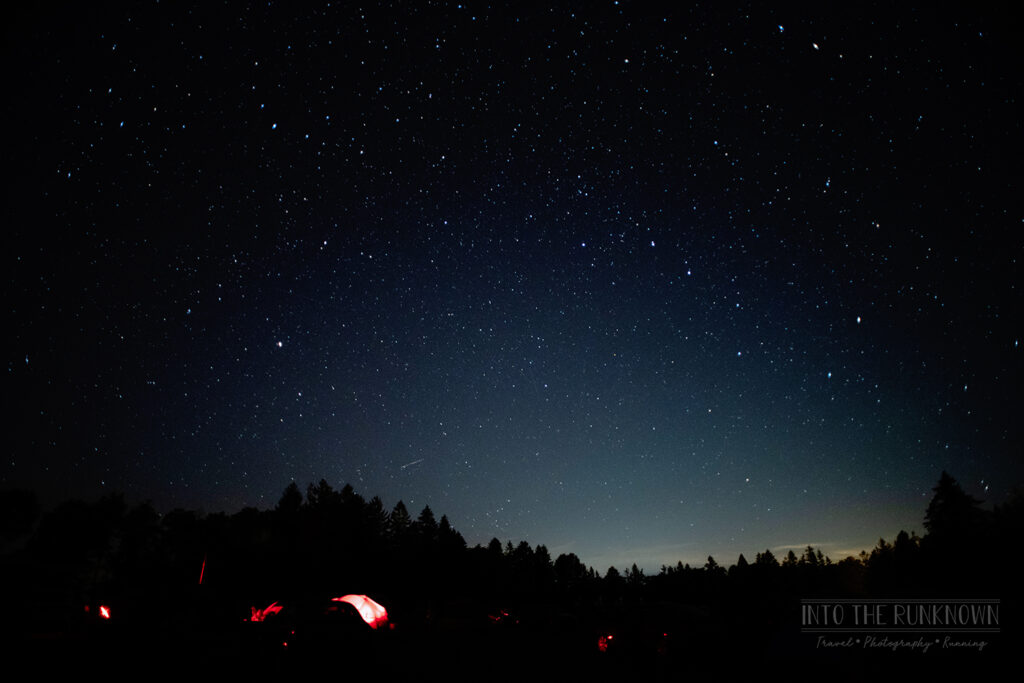
It was at this point I gave up on photos and laid down just in time to catch the largest and brightest shooting star I have ever seen zoom across the sky for what seemed like an eternity. The entire crowd in unison let out one giant wooooooaaaaah, then went back to their chitter chatter. We saw a handful more, less bright but still exciting, shooting stars as the clock got later and the air got more damp and chilly.
Around midnight, still cranky from being booted from the good side and cold from the damp air, I finally waved the white flag and requested we make our way to the car to head back to Lock Haven.
We made a quick stealth dark mode stop across the street from the overnight gate in hopes the park rangers had left and we could sneak back in for a few more photos on the good side, but with a quick flash of our red light, we caught the outline of the one park ranger standing square in front of the gate.
I tried a few more photos from the parking lot before loading in the car. Unfortunately the length of time the shutter needed to be open vs the ding dongs clicking their lock and unlock buttons every three seconds, resulting in car lights constantly flashing on and off, it was a lost cause.
The drive home was not quite as enjoyable and scenic as the drive up in daylight. Those dark, winding and steep mountain roads became quite the challenge with tired eyes and all the wildlife crossing the road in front of us with zero warning due to the steep drop off and thick trees. We nearly missed one deer, one possum (we think) and numerous small mice or chipmunks.
This is definitely a park and experience I will return to, but maybe with my tent and sleeping bag next time.
Photo Editing Notes:
All photos were shot RAW.
Below is a before and after example of the same photo. The left photo is straight out of the camera with zero edits. The right photo is the final edited image for comparison.
All photos were edited in Lightroom to adjust the white balance to a cooler tone, a bit of contrast was added and the whites and blacks were adjusted for more accurate color.
They were all then edited in Photoshop to add a cool glow action, a warming brush on the main area of the Milky Way for a bit more contrast, and some minor dodging and burning of shadows to make the trees pop a bit more against the dark sky. I also cloned out some of the airplane light streaks and other distracting lights at ground level from flashlights.
Absolutely no fake stars were added to these photos. Everything seen existed in the sky.
